Cloning a Project
There are countless open source Unity projects on GitHub and many of them are very high quality. Cloning these projects and looking at what other people have done is also a great way to learn. In this post, I will explain how to clone a project from GitHub and open it in your computer. In this example, I will be cloning Boat Attack, a URP sample project created by Unity Technologies.
Step 1. Find a project on GitHub
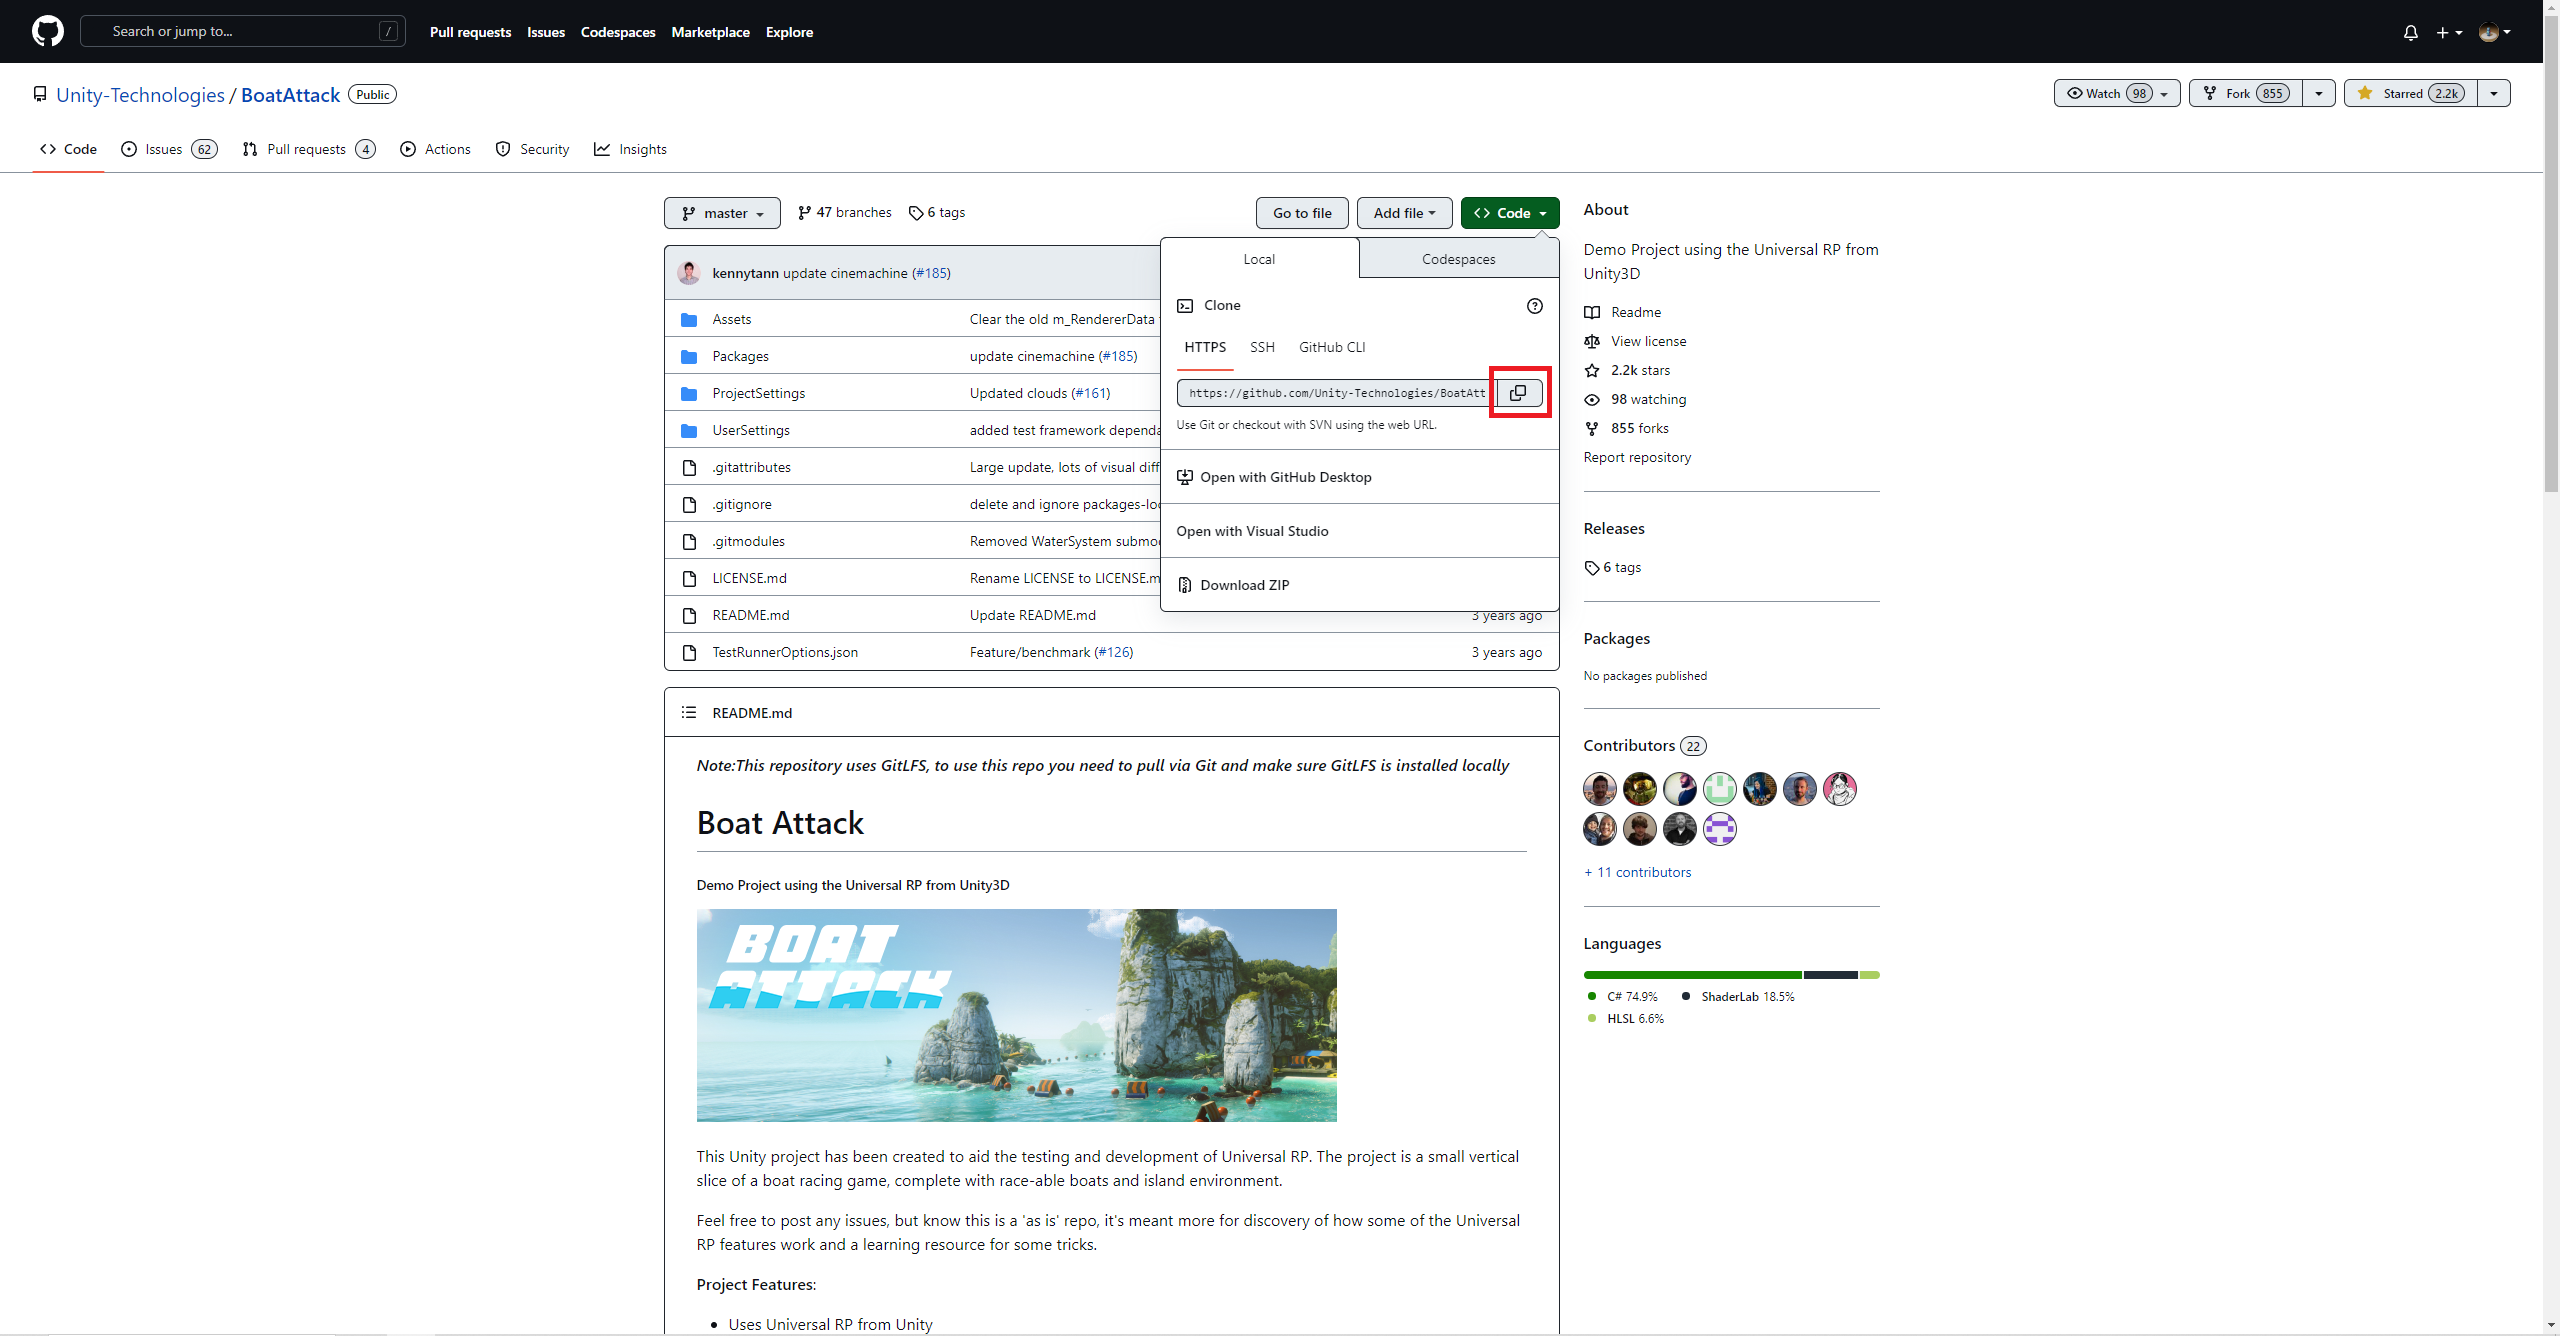
First you will need to find a project to clone on GitHub. You can either google it, or search directly in GitHub. Another useful way is to browse by topic. After finding the repository, copy the project URL.
Step 2. Clone Repository using GitHub Desktop
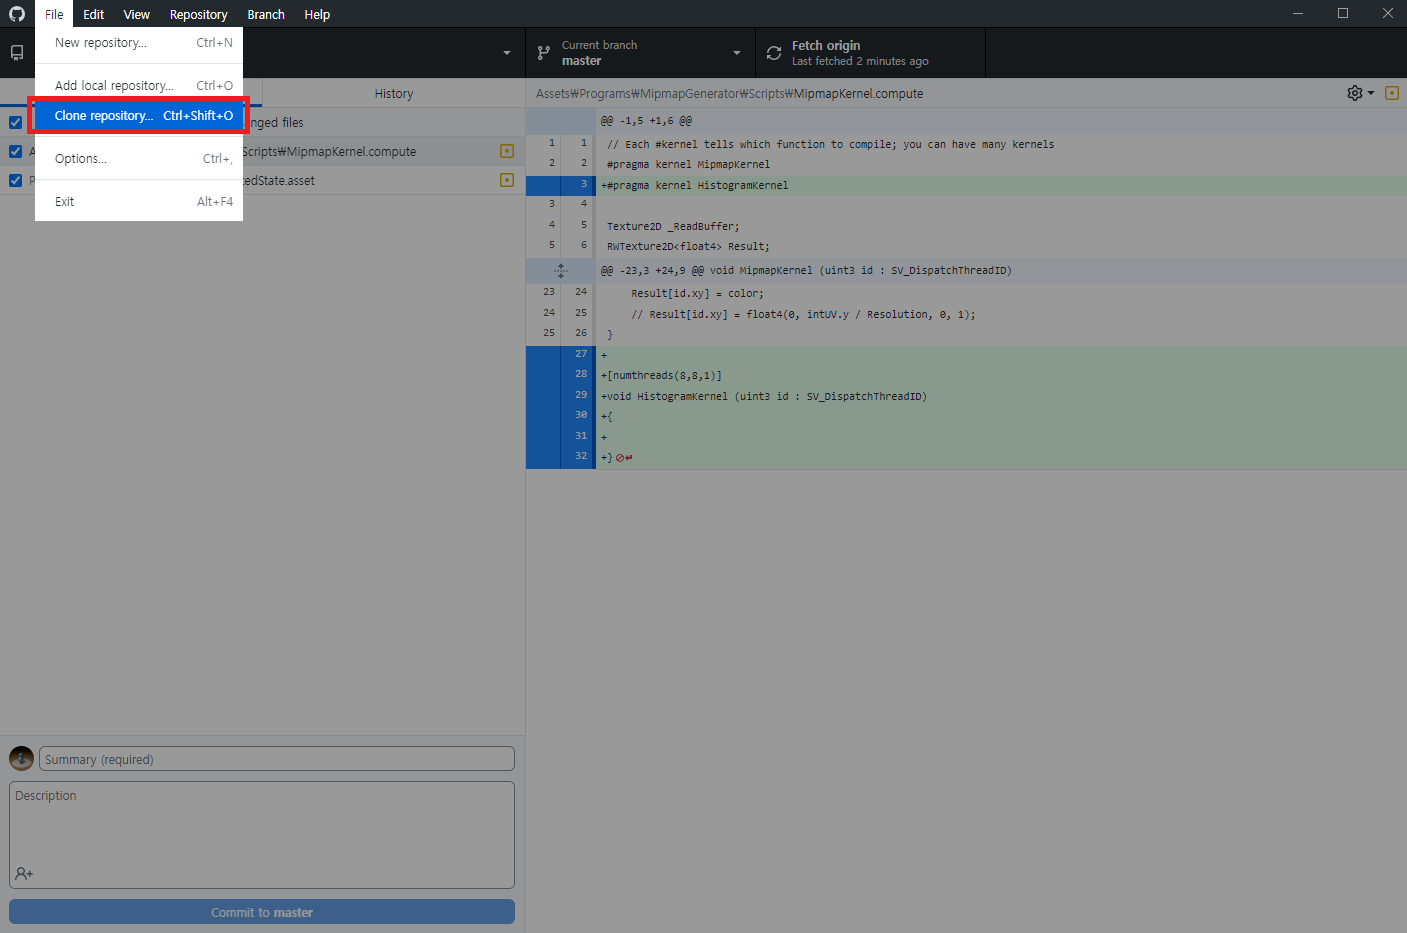
Now we will clone the repository to the local computer. This can be done through Git Bash with some commands, but to make things easier, I will do this with GitHub Desktop. Install GitHub Desktop if you don’t have it and navigate to Clone Repository (File > Clone Repository).
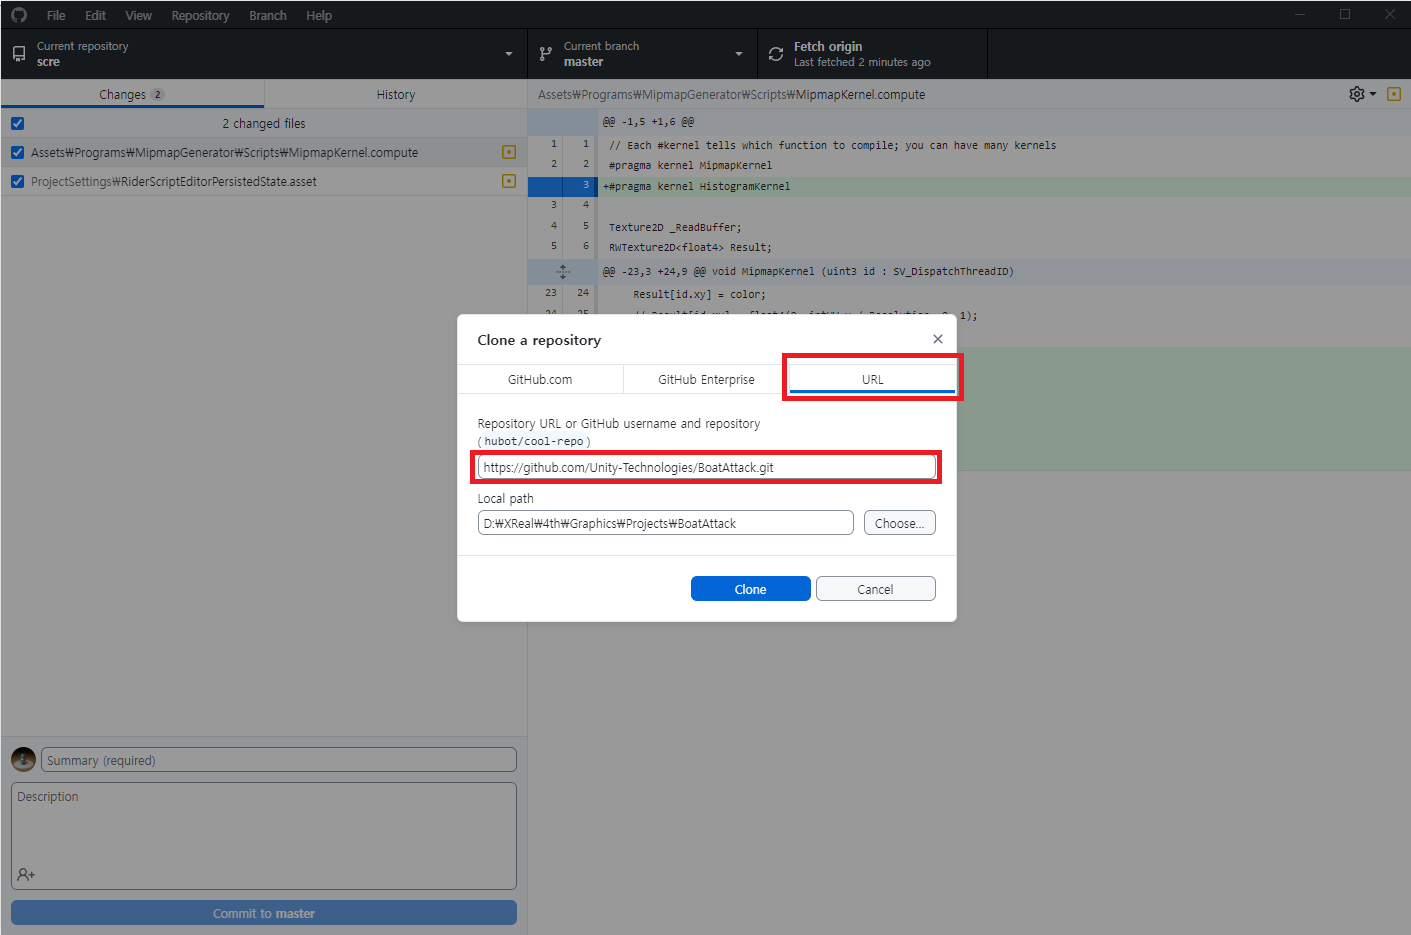
Choose clone repository with URL and paste in the repository link copied from github. Navigate to where you want to save the repository below in local path and click clone.
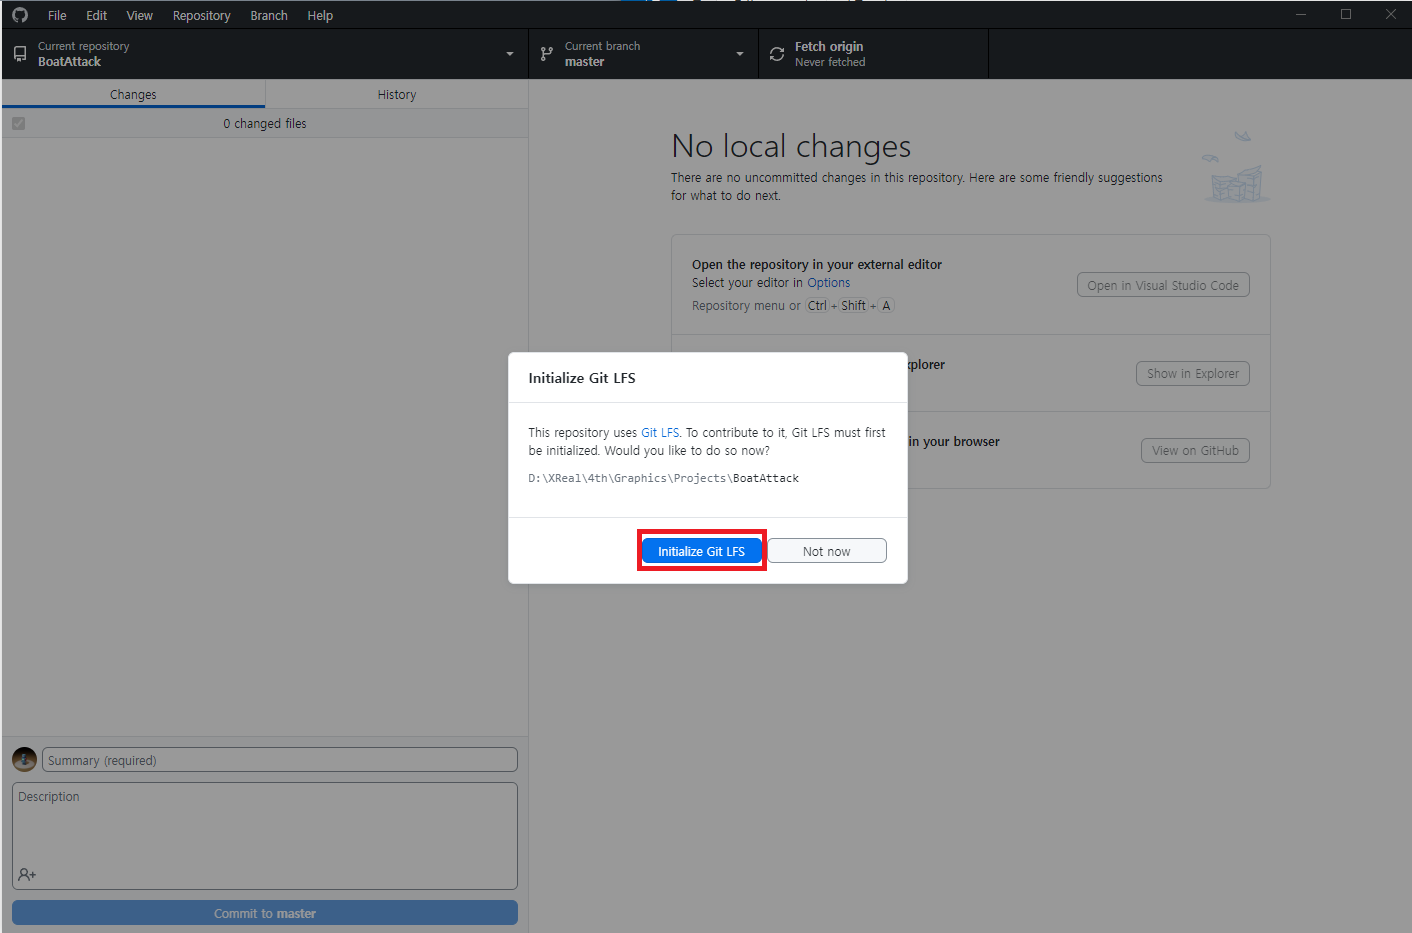
Some projects contain assets like videos, audio and large images. GitHub Desktop will ask to initialize Git LFS in those cases, so click Initialize Git LFS.
Step 3. Add Project to Unity Hub
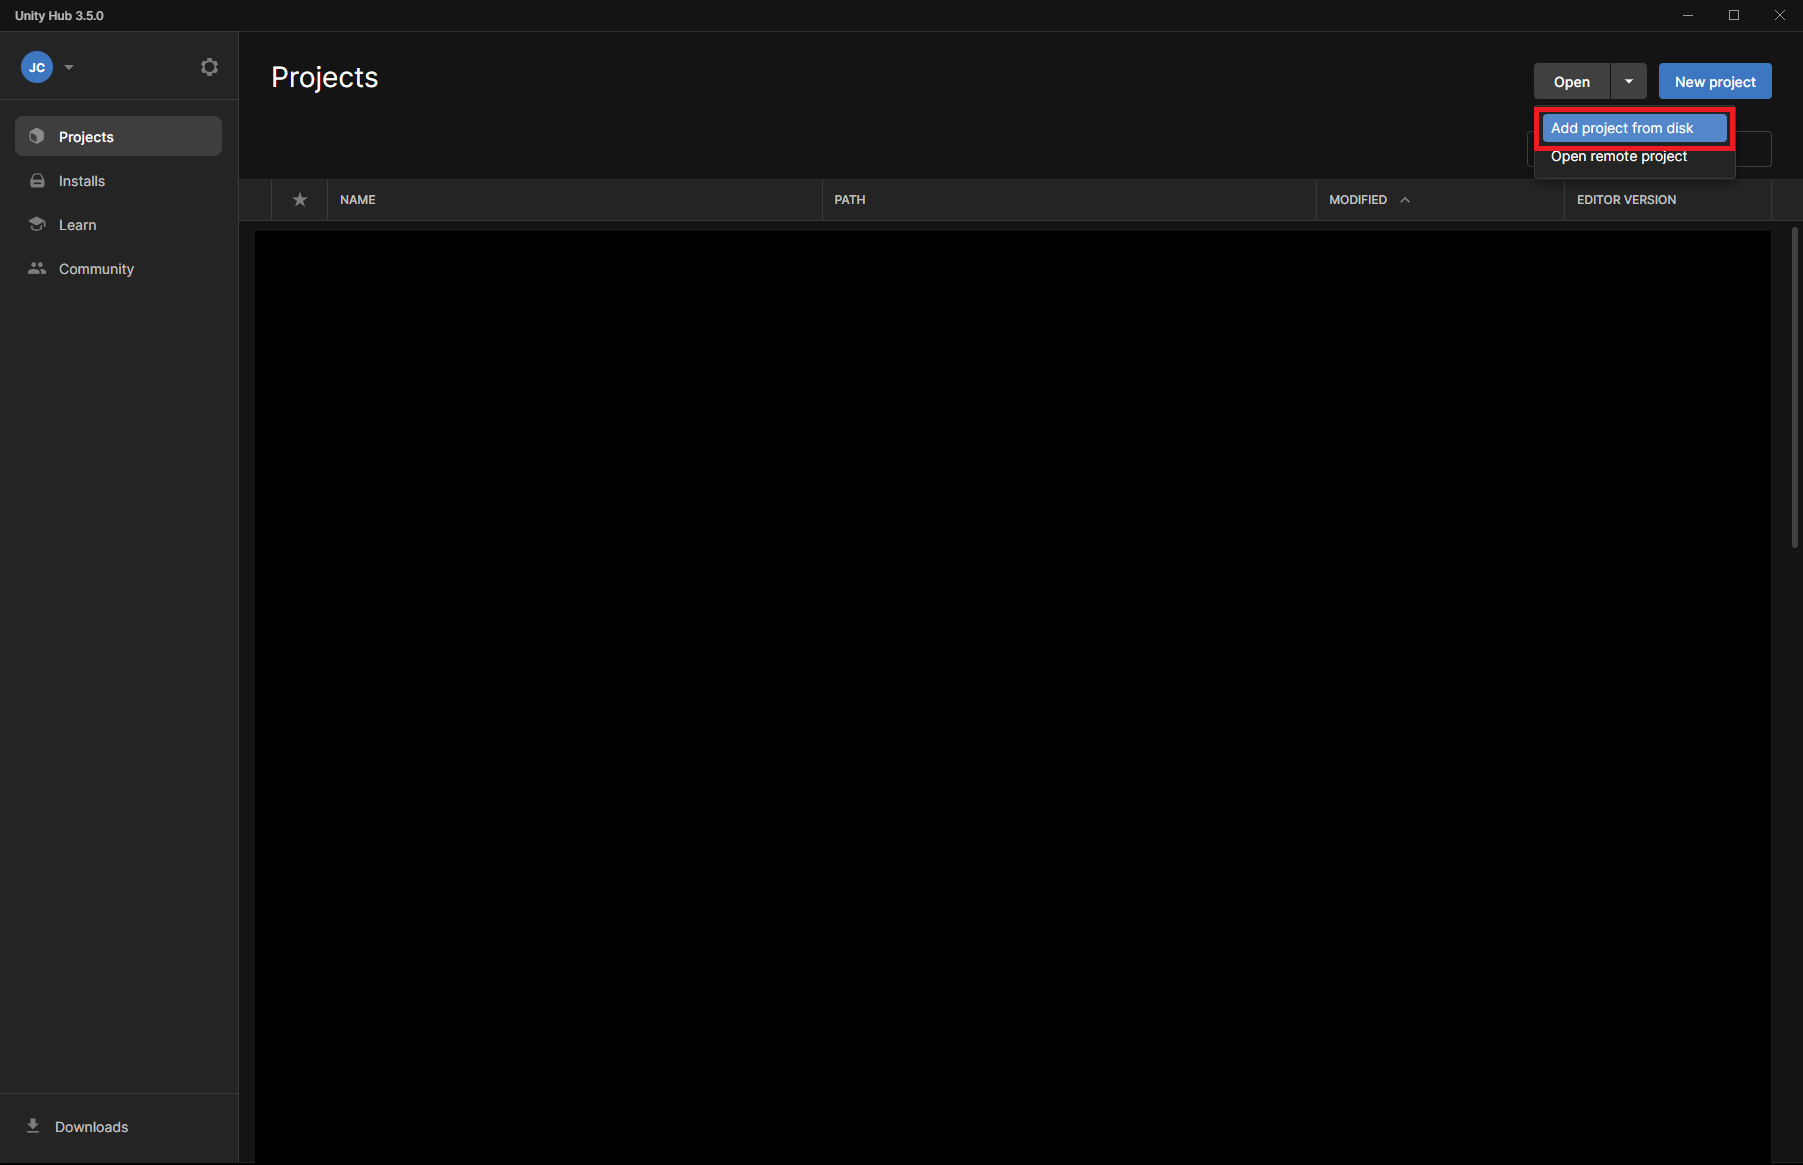
Now that the download is complete, we will add the cloned project to Unity Hub so we can choose which version to open it in. Open Unity Hub and add the project by clicking the dropdown arrow next to Open > Add project from disk. Navigate to where you saved the project, which is the path you entered in Local Path in step 2.
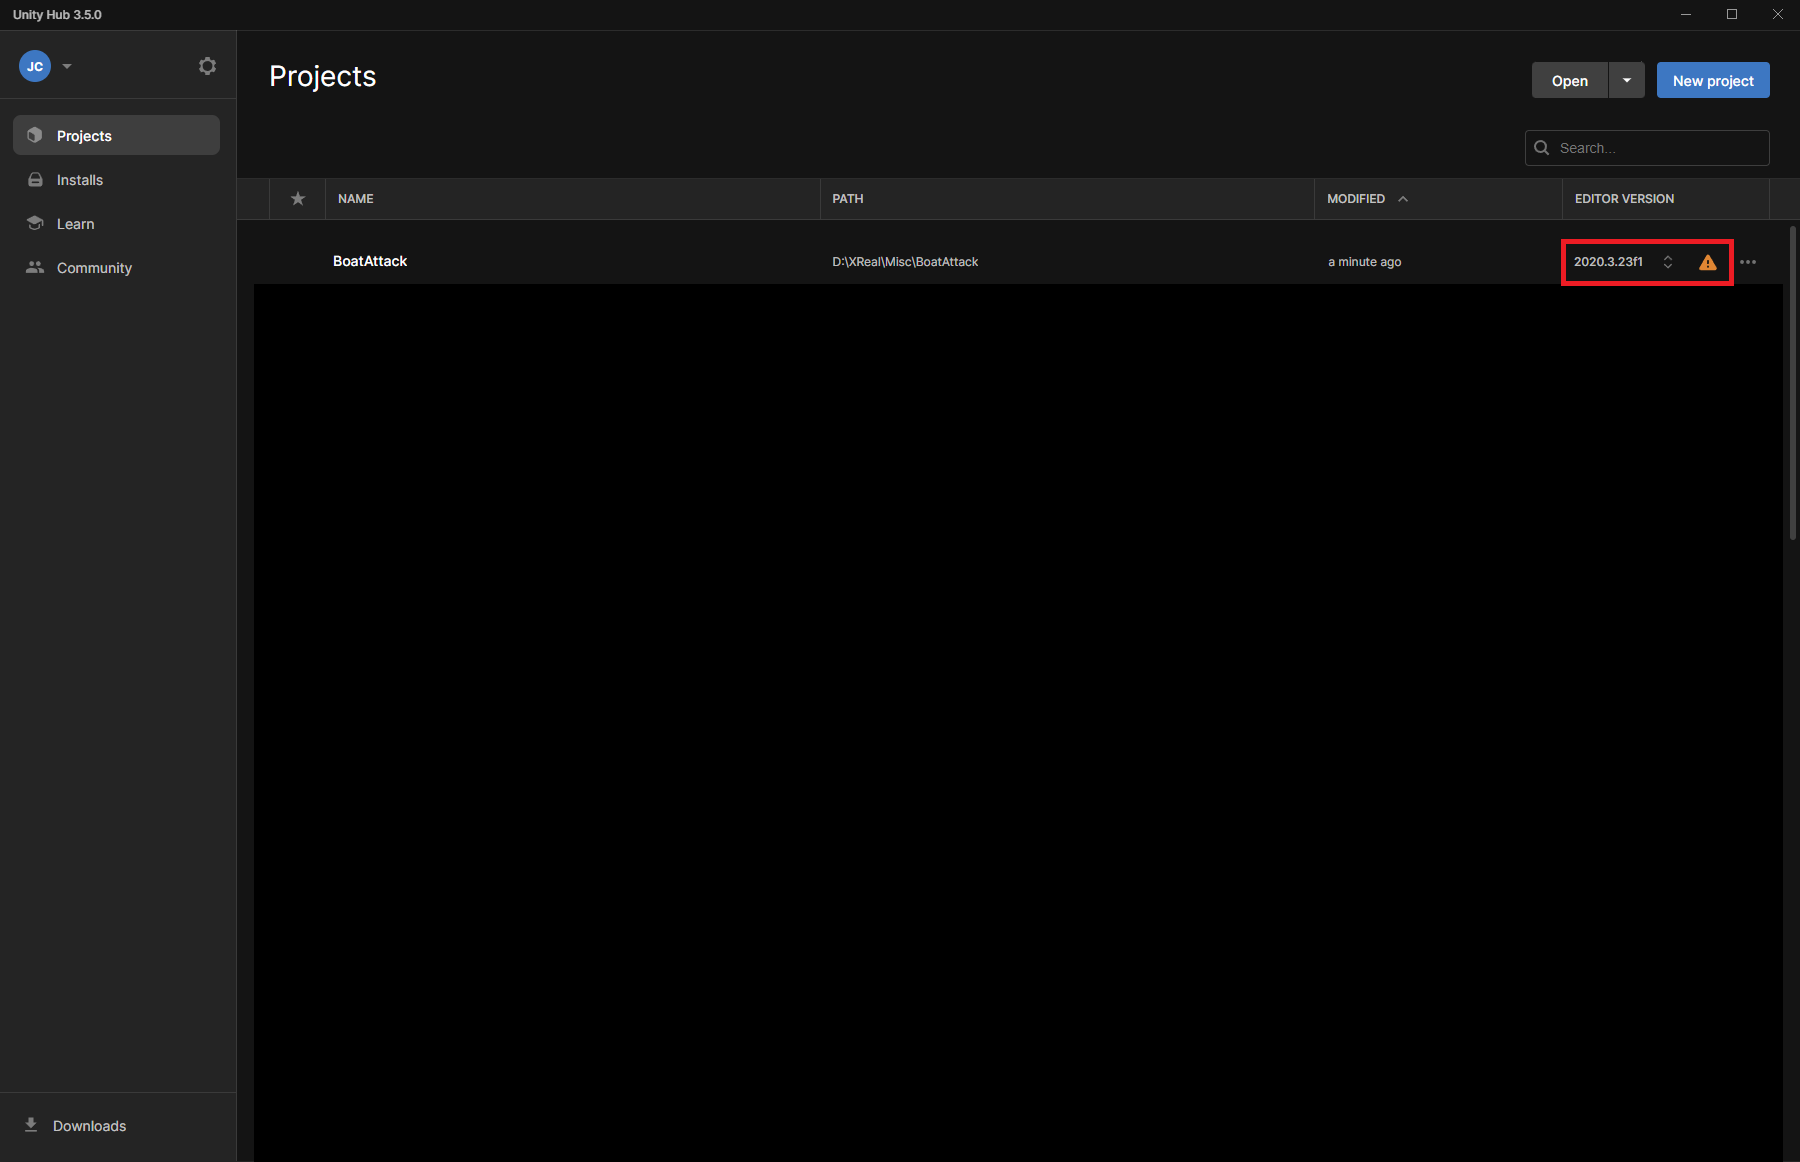
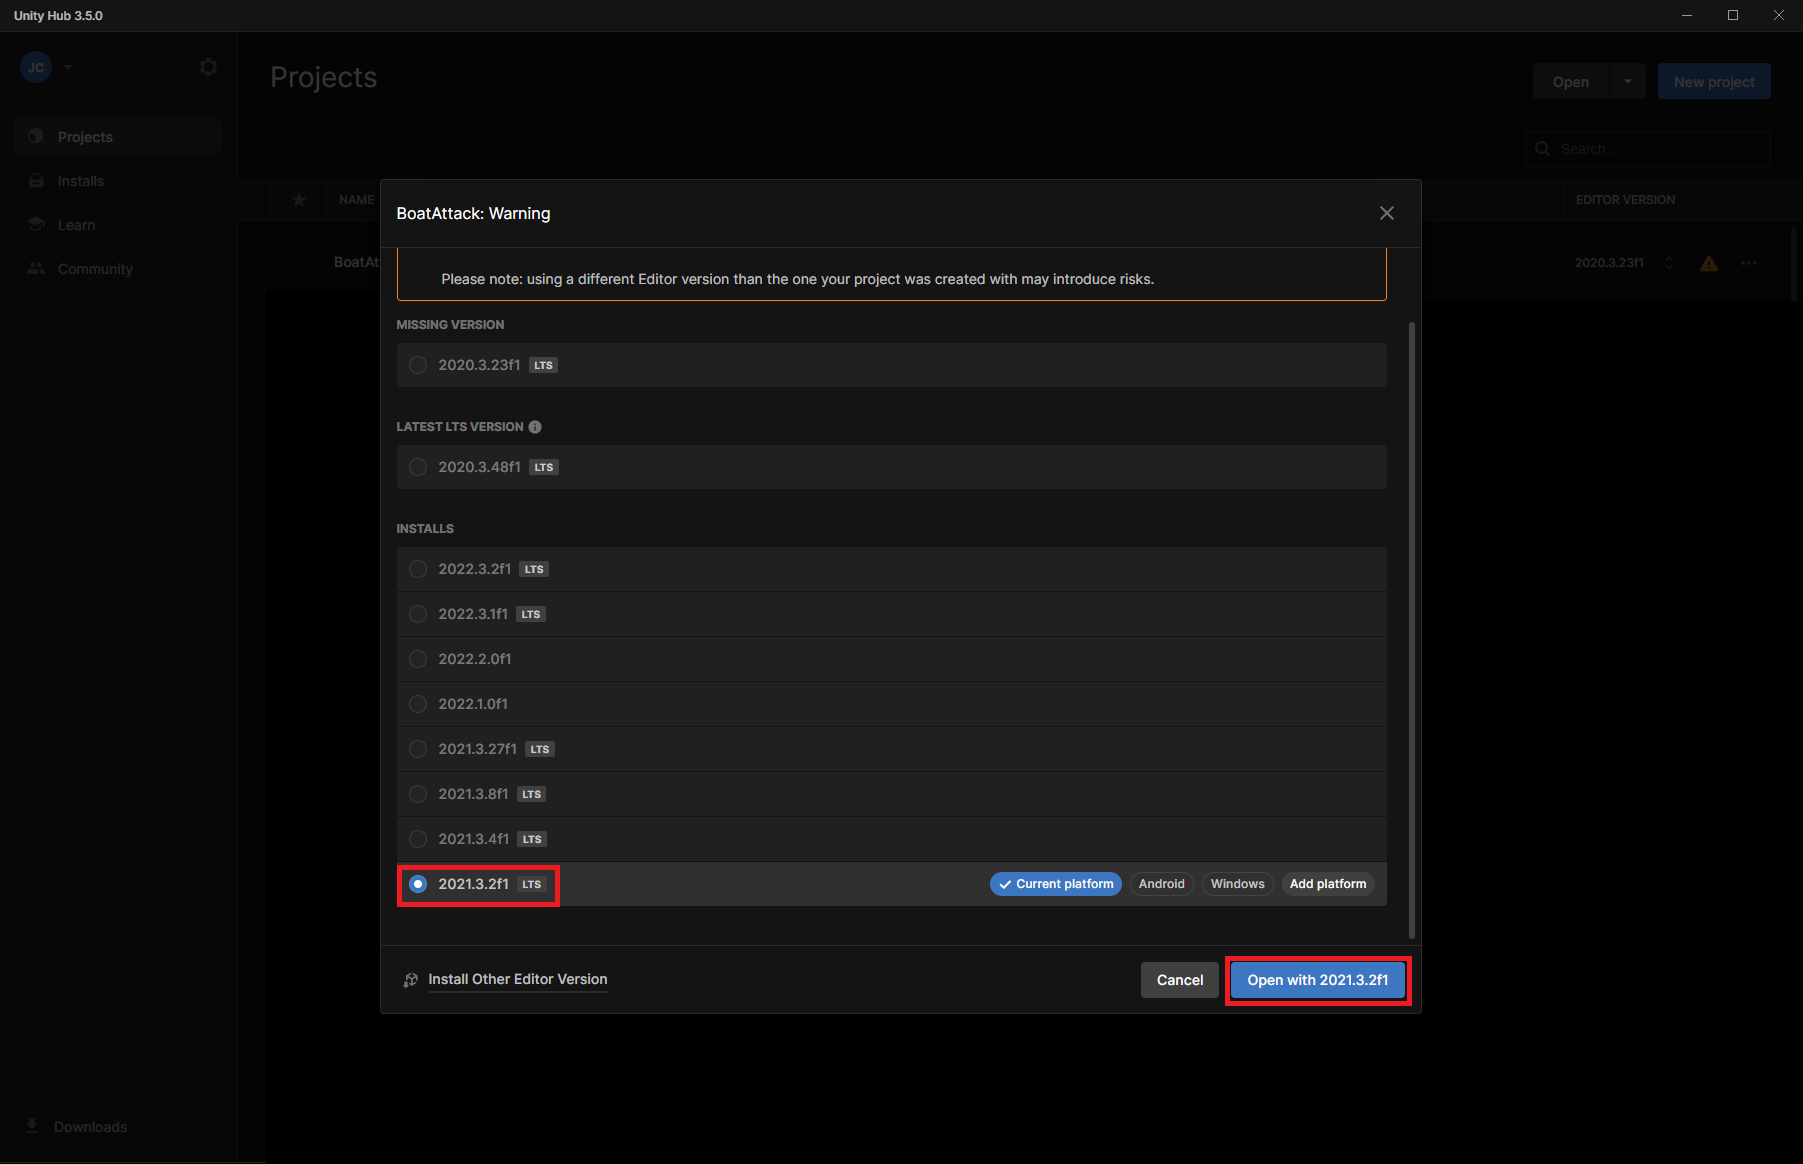
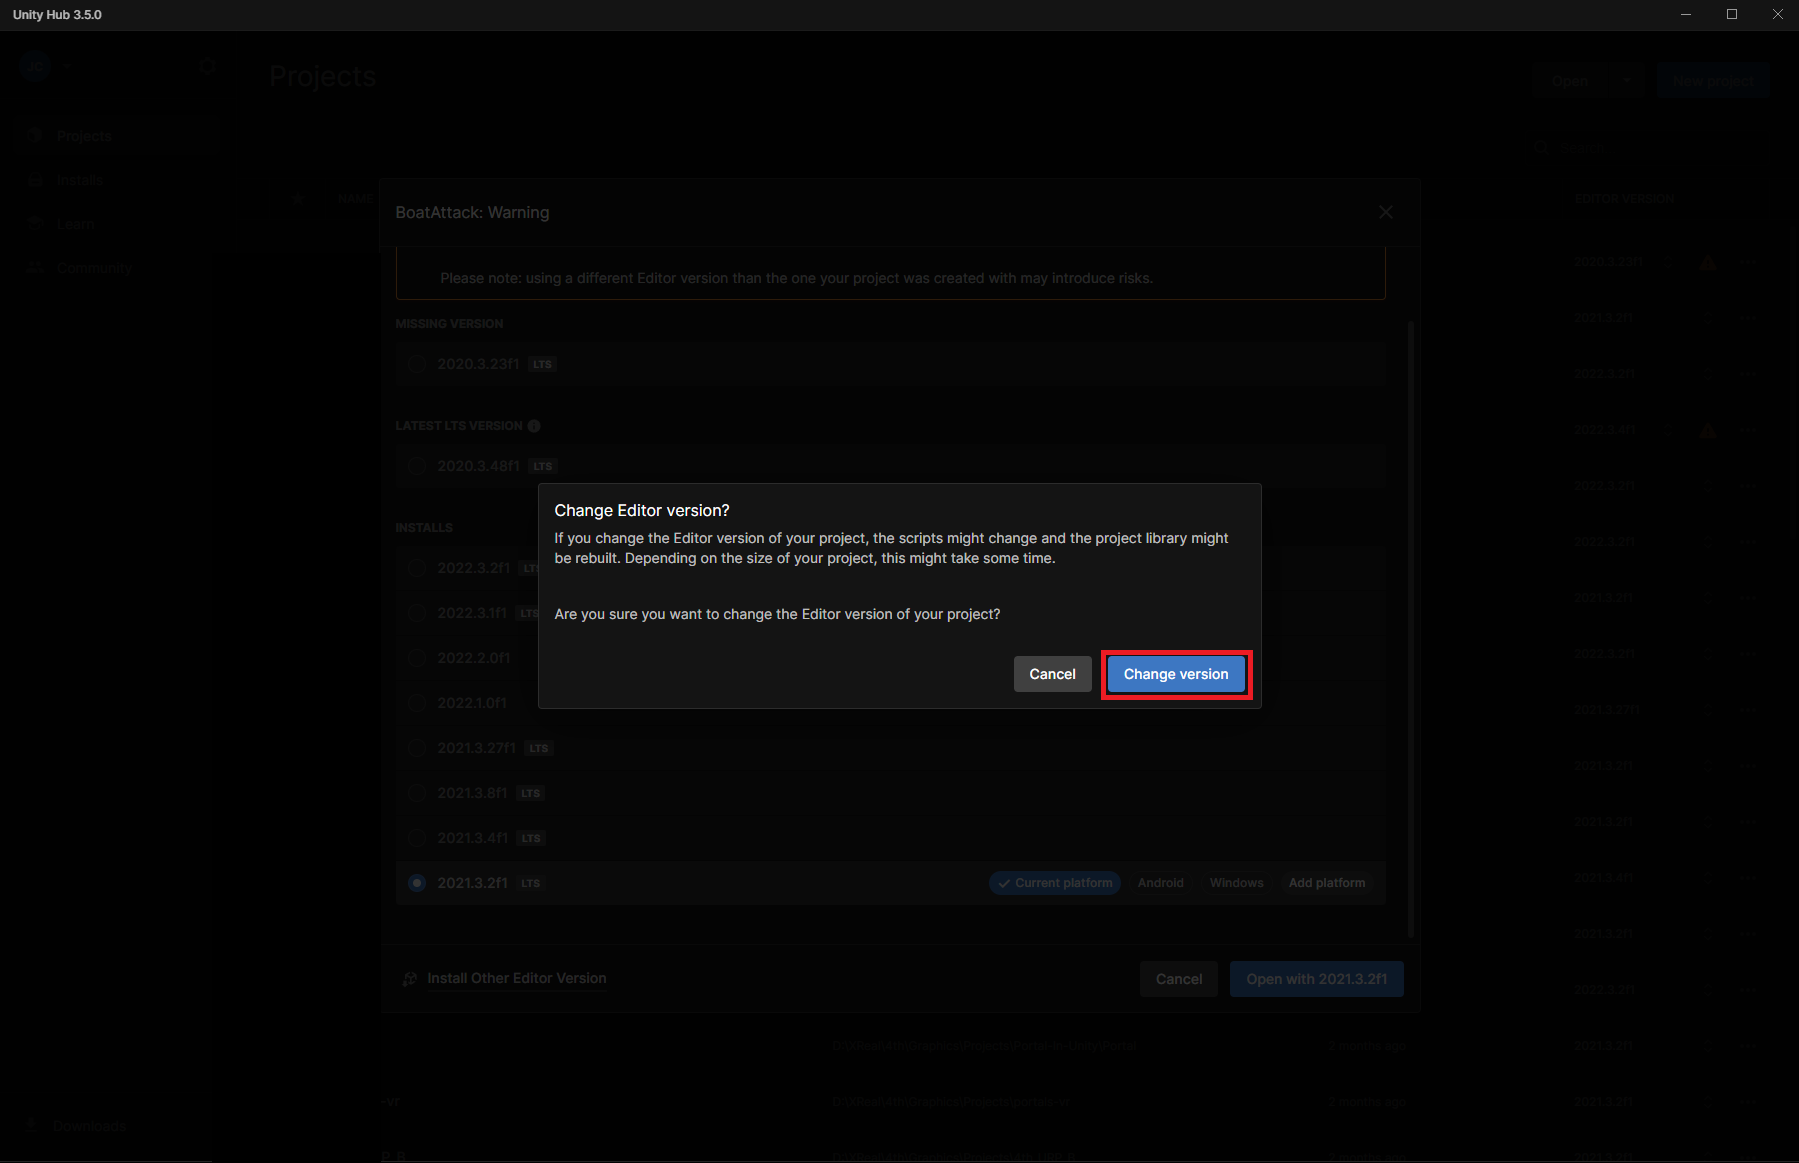
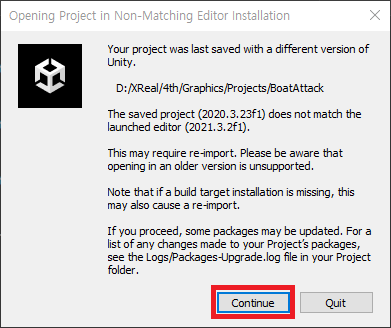
The project should pop up at the top of the list. However, the author of the cloned project might not be using the same Unity version as you. In this case, you must check the original repository README or any other documentation to see if there are versions that do not work. If there are no mentions of the engine version, the project will generally be compatible with various versions. In this case, the master branch was made in Unity 2020.3.23f1. However, as the 2020 versions are a bit outdated at this point, I’ll update it to 2021.3.2f1, which is an LTS release. This can be done by selecting the preferred editor version in the editor version toggle. If you need to install an editor, check out this post.
Step 4. Import Necessary Packages and Fix Compile Errors
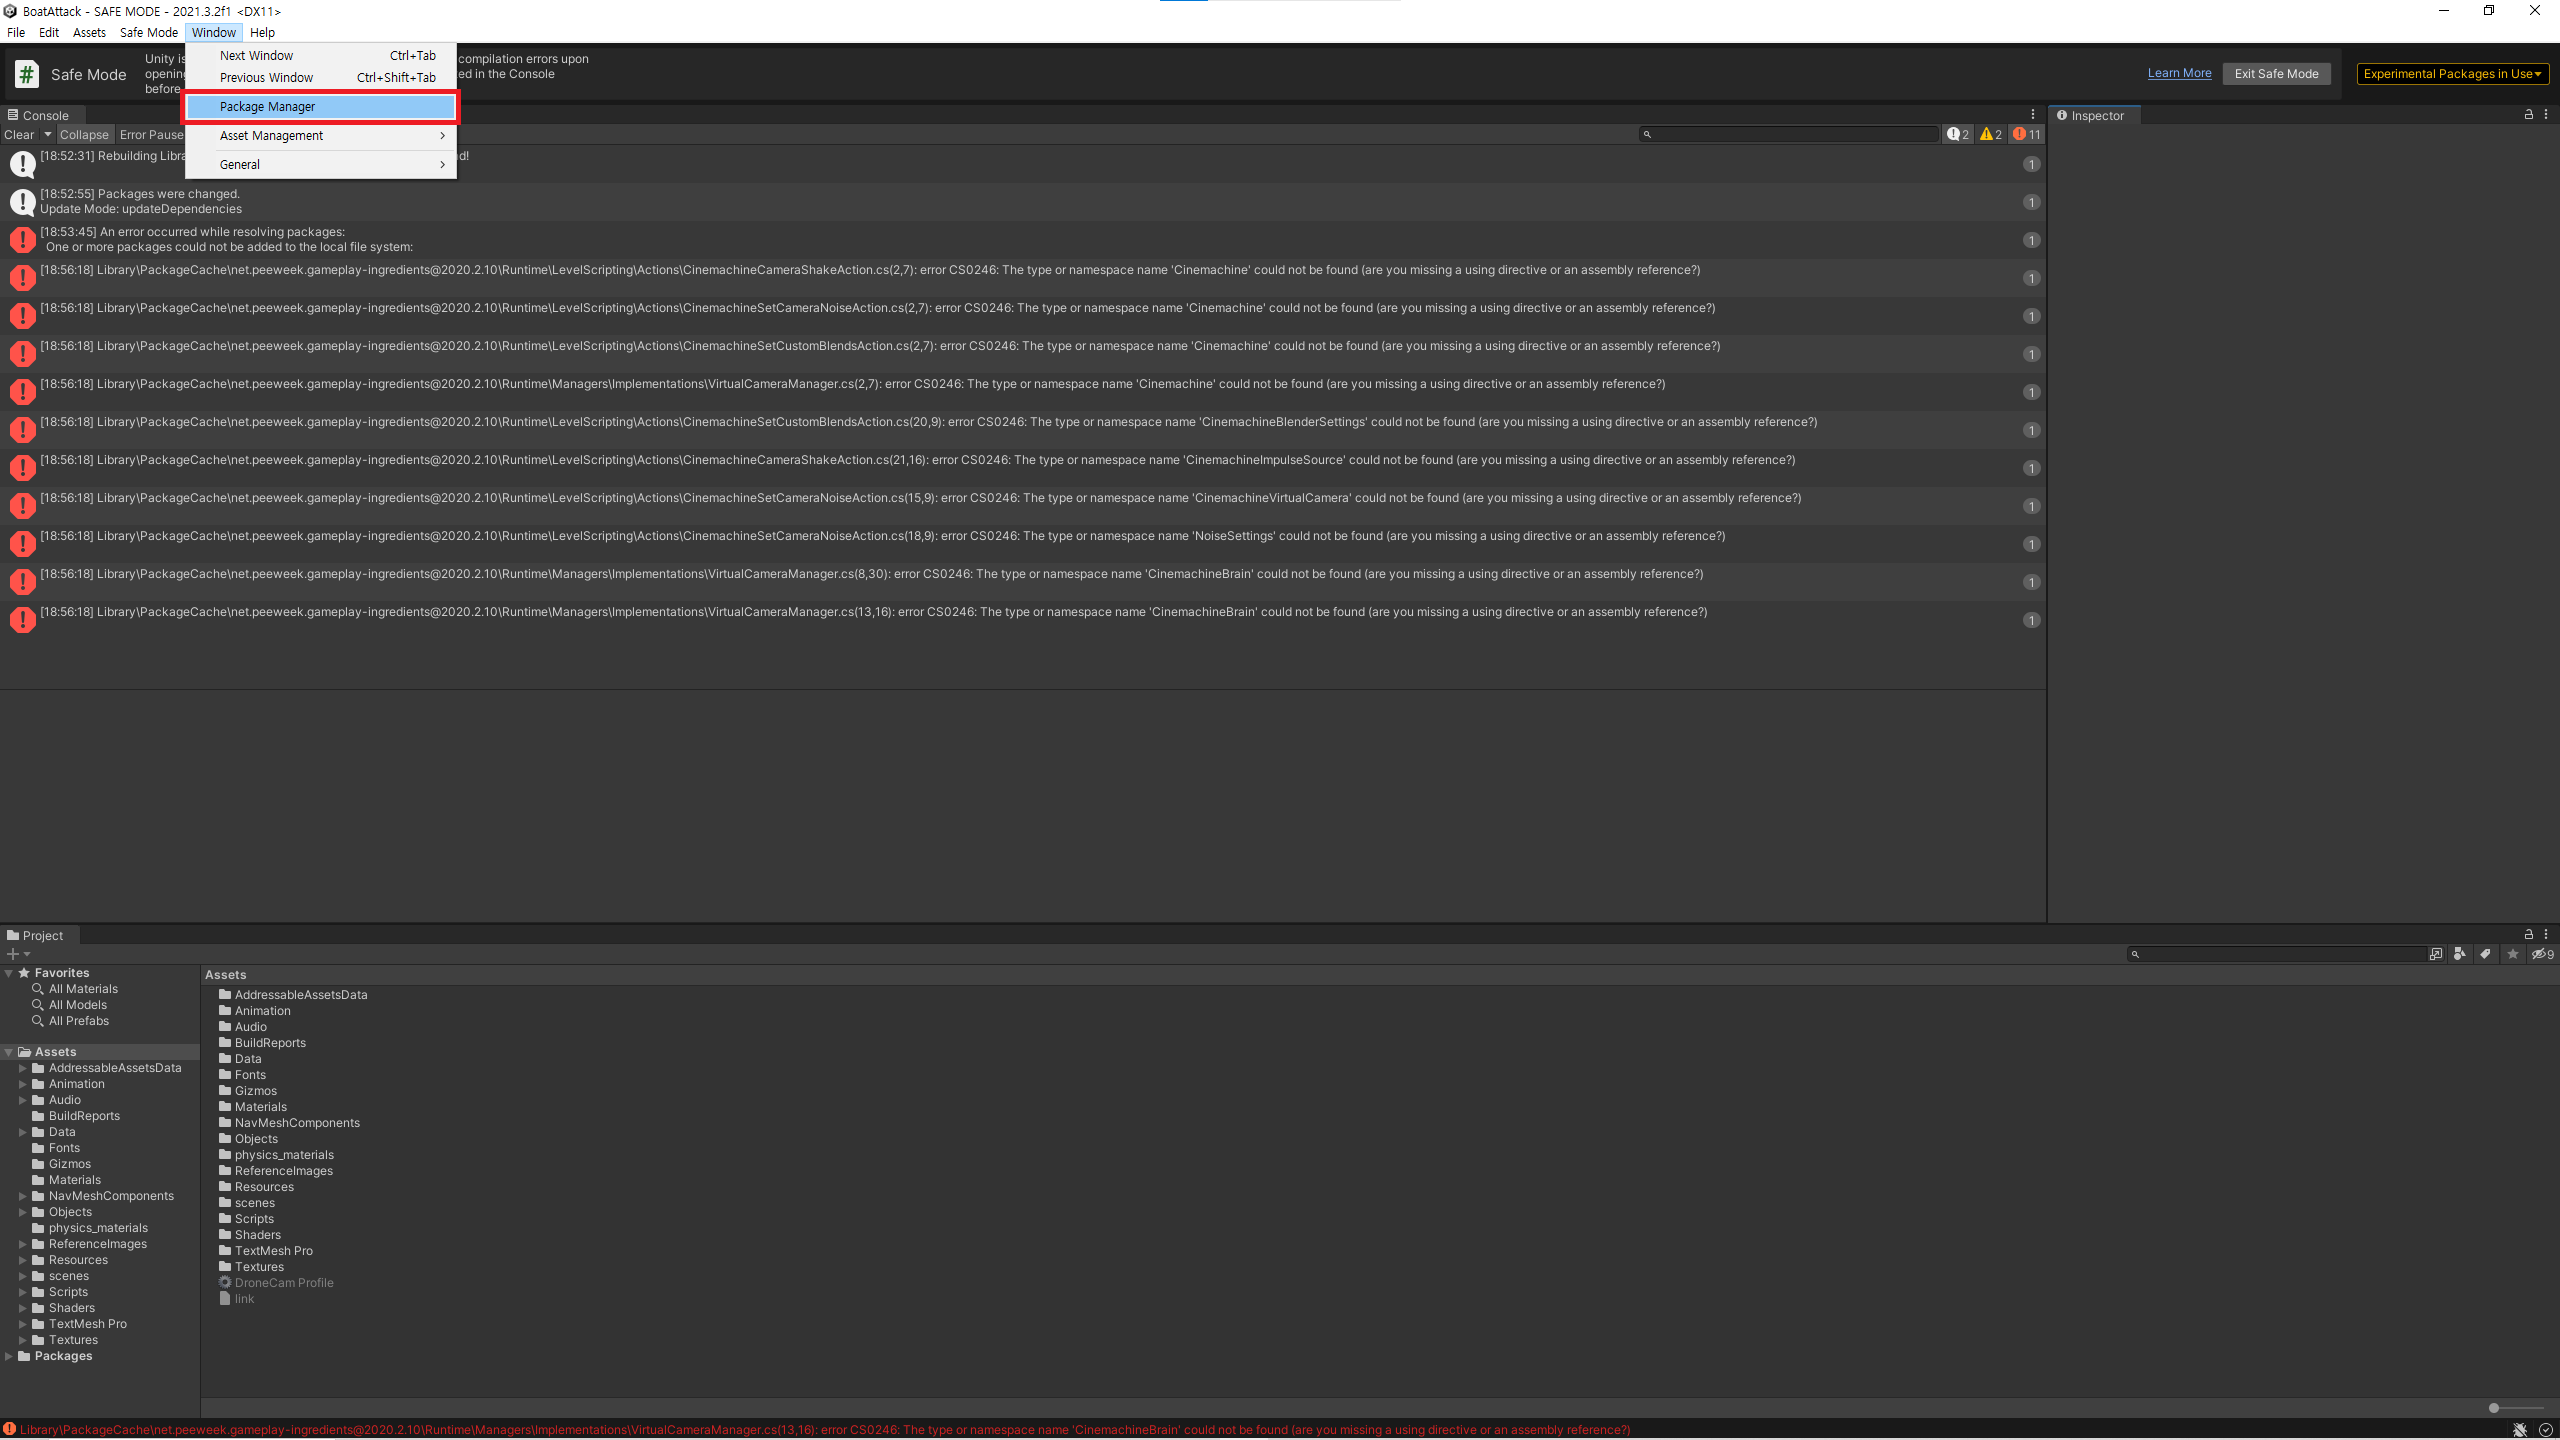
Changing the editor version will show a bunch of errors. Follow the steps like below and enter safe mode to fix the errors.
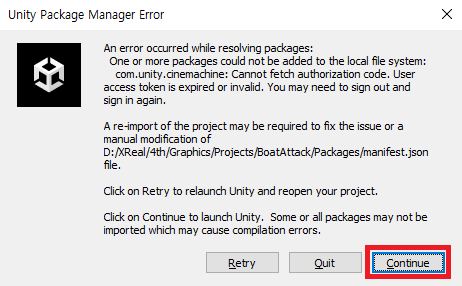

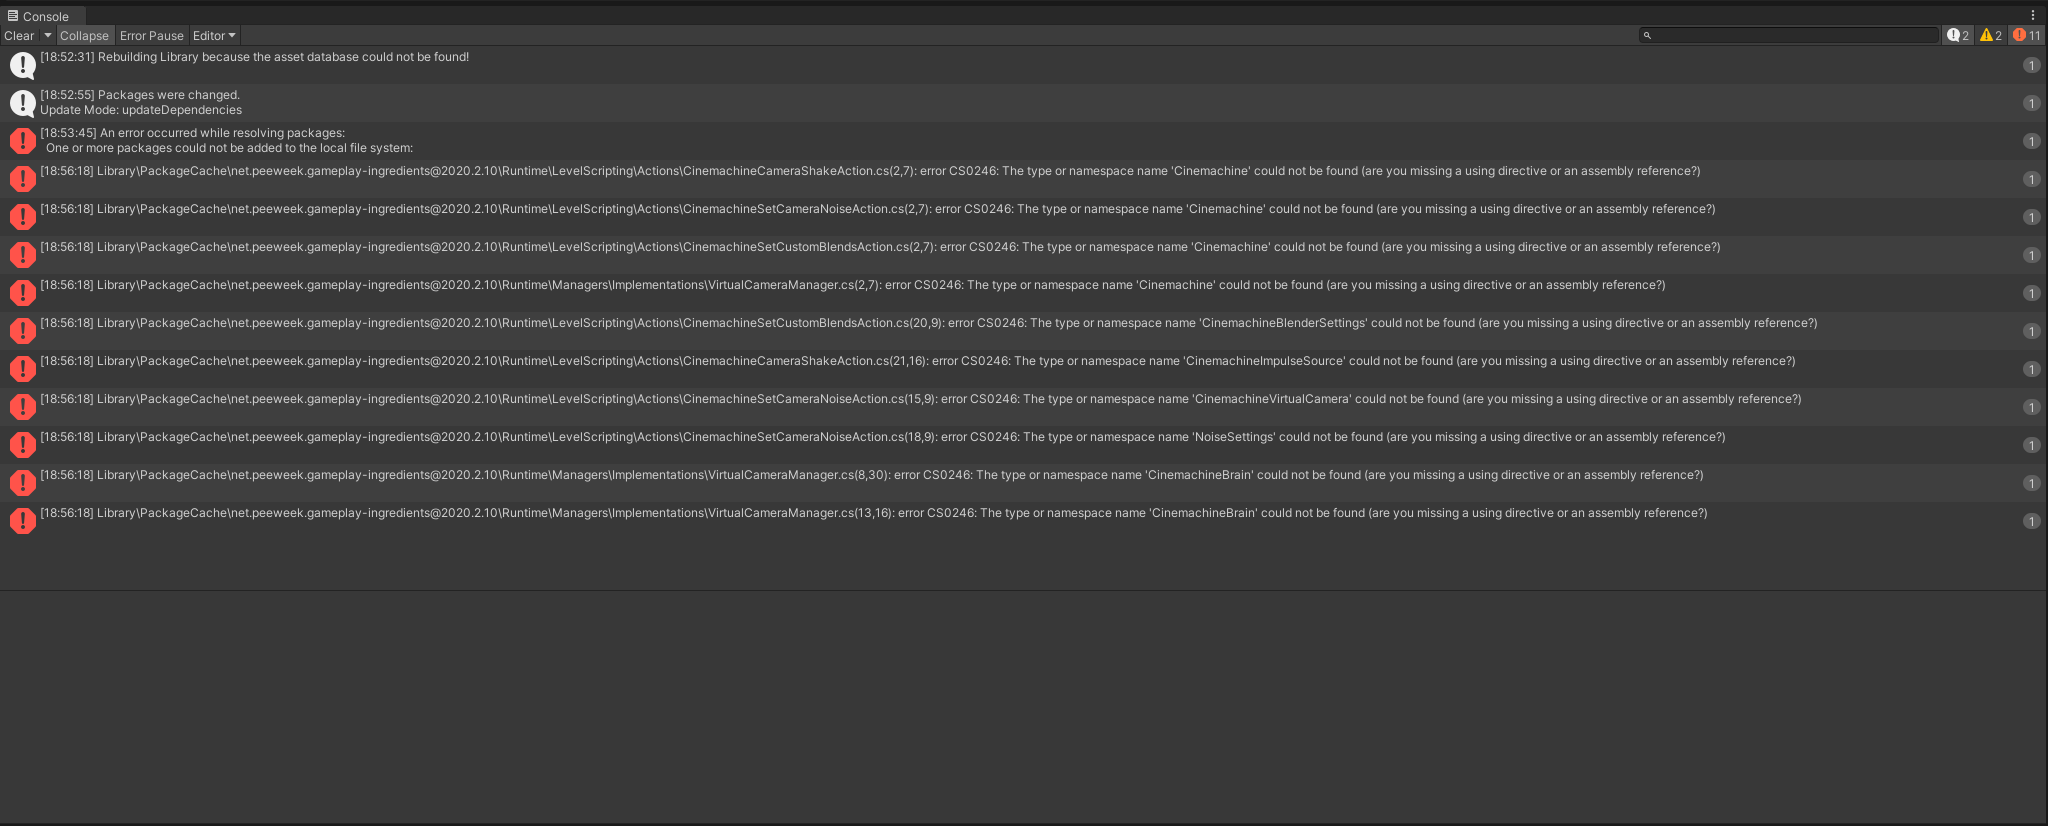
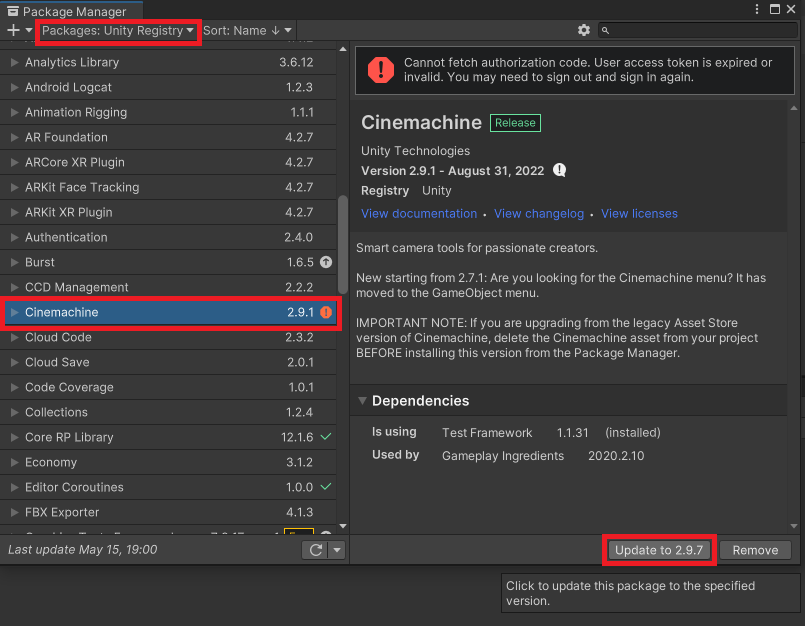
The safe mode error may not appear if there are no compile errors after changing the version. In this case, we can see that there are errors with Cinemachine. The error messages show that the Cinemachine namespace is missing, which would mean that either the package is corrupt or missing. To fix this, navigate to the Package Manager window and update or reinstall Cinemachine.
Step 5. Commit Changes
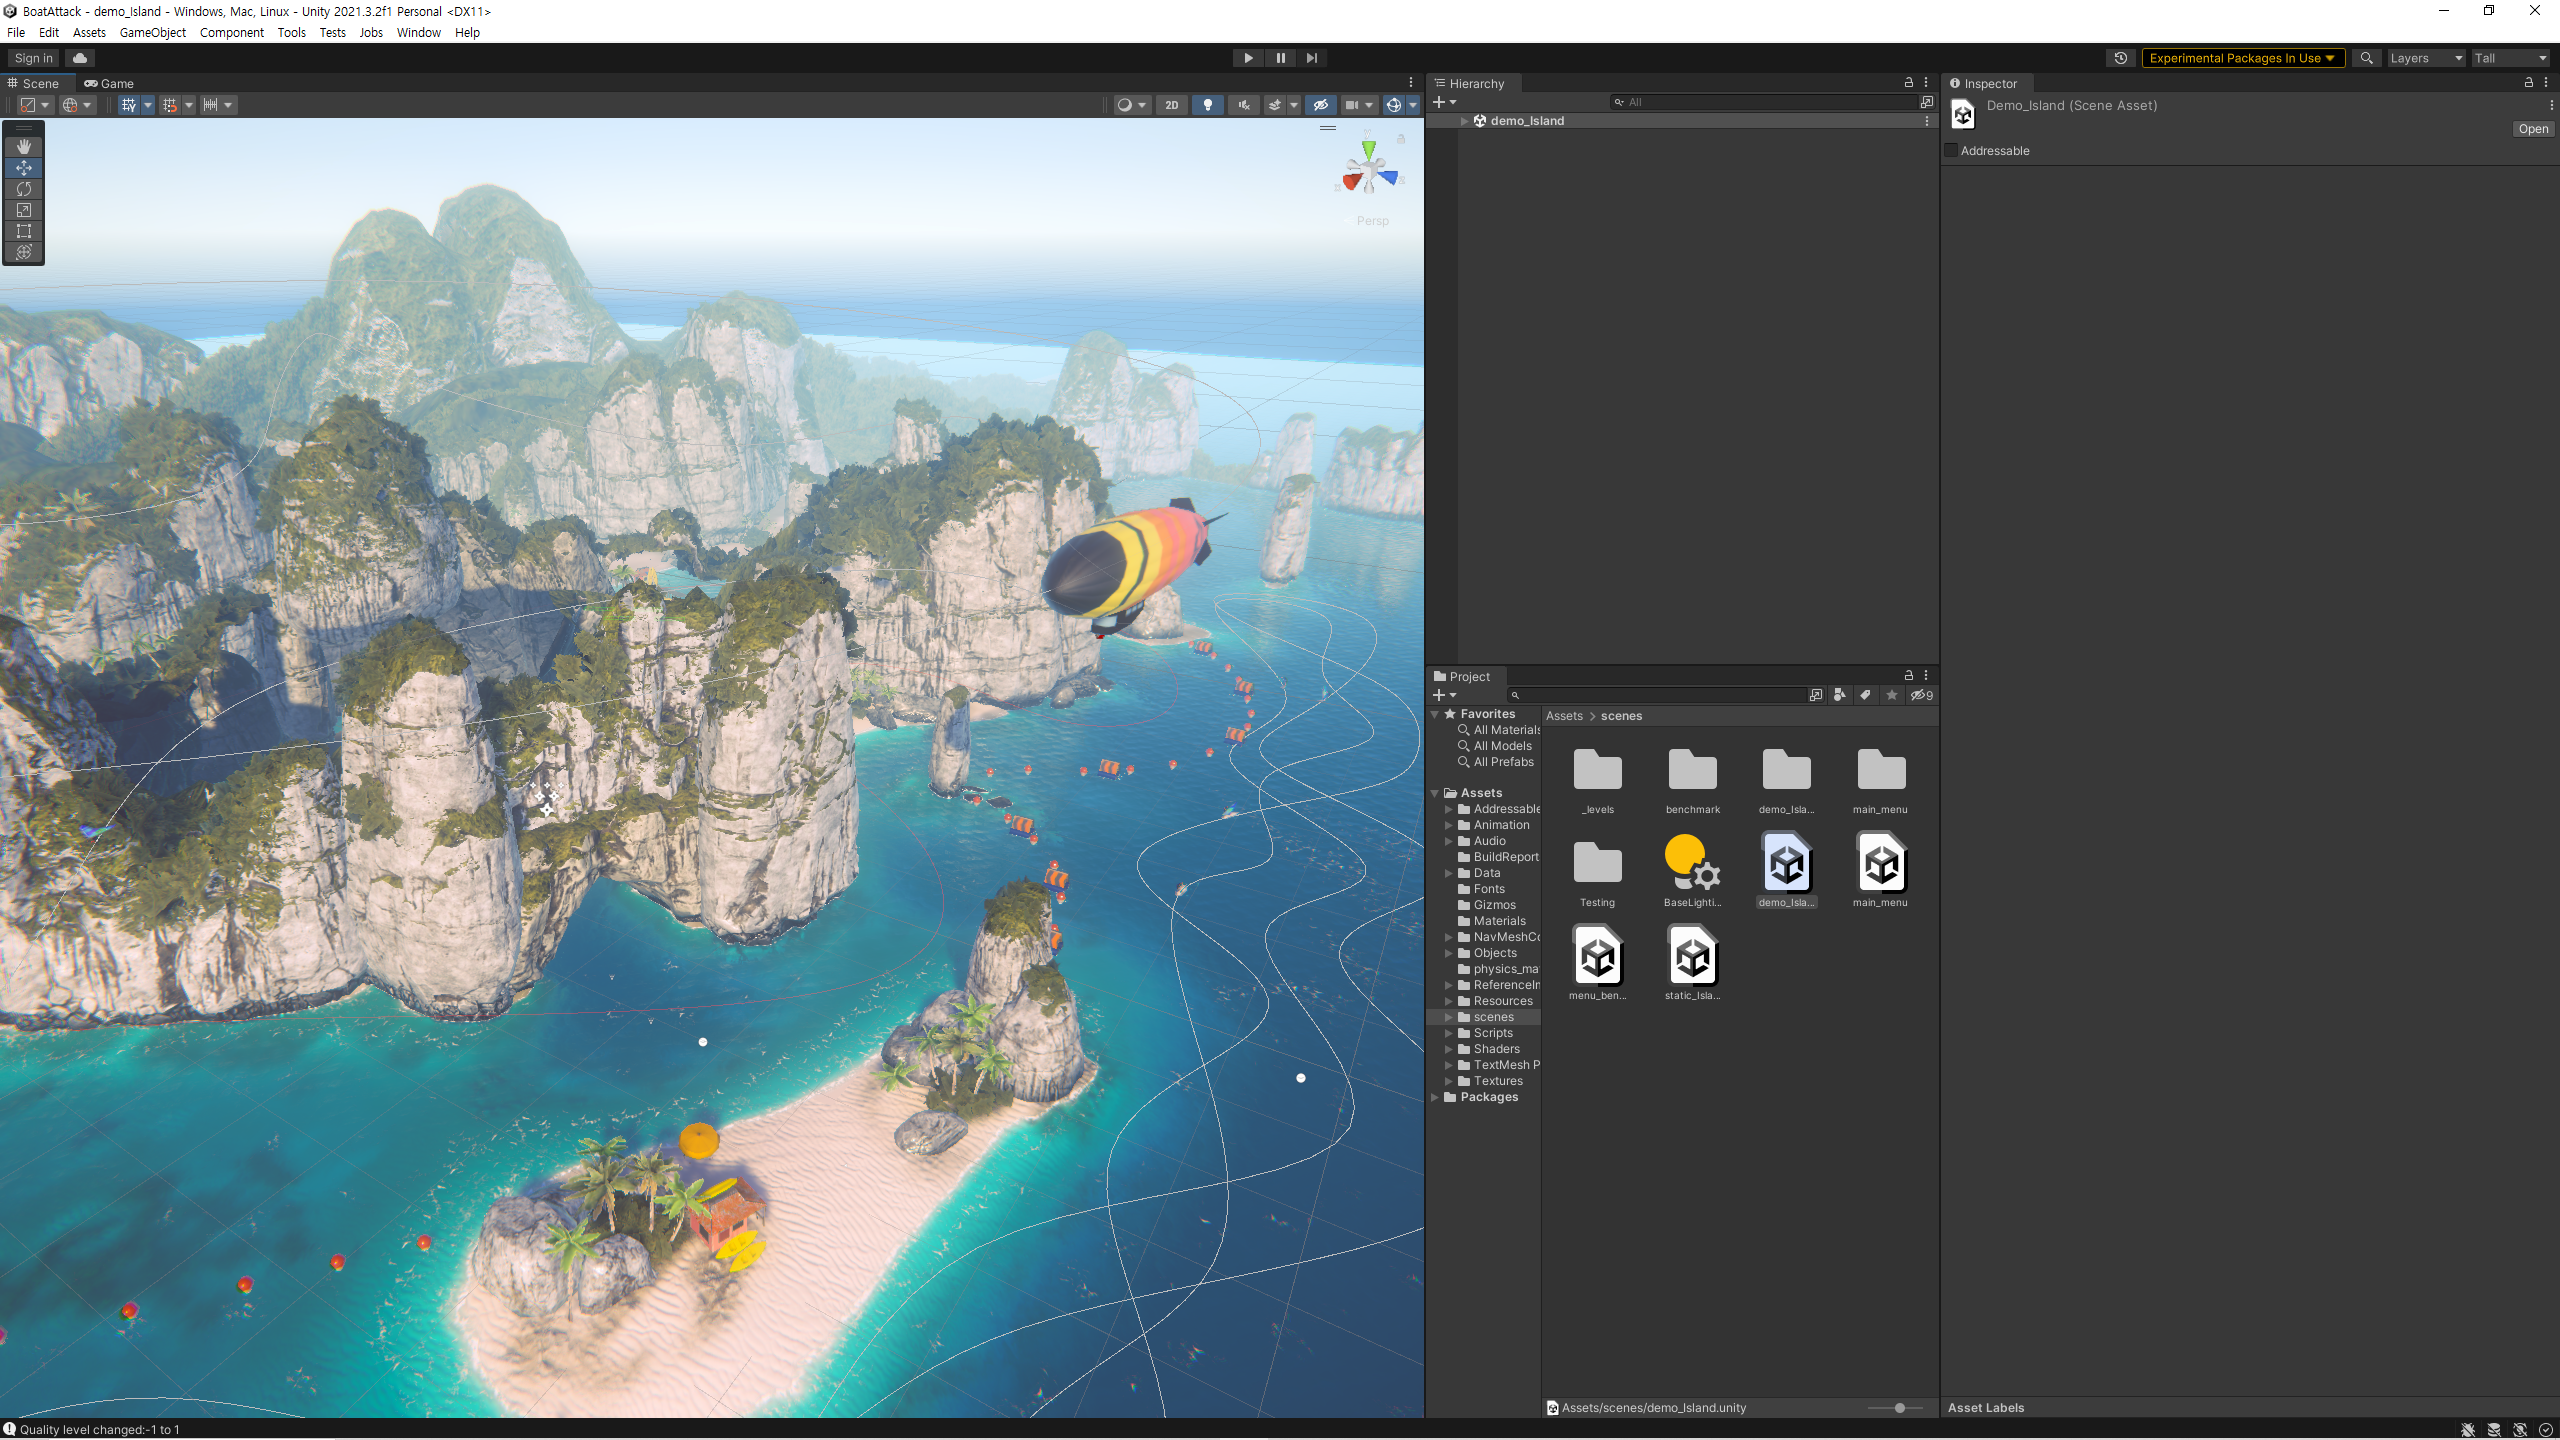
After fixing the errors, Unity should recompile and you should see something like this.
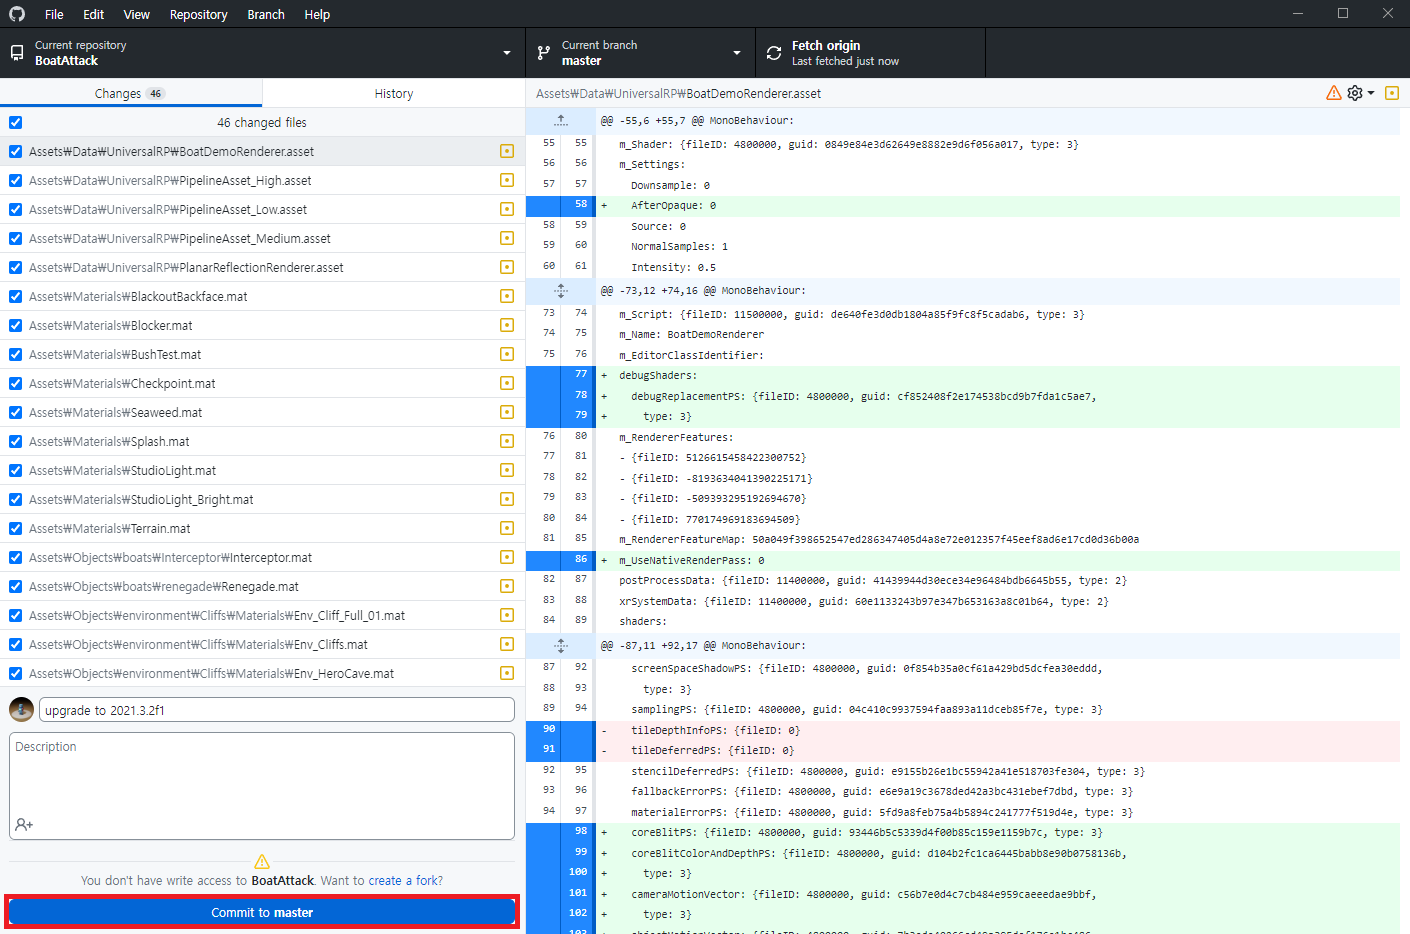
Finally, commit the changes made to the project. To save further changes and modify the project for your own purposes, I recommend forking the repository and committing changes in the forked repository.